Softography
Released games that I've worked on over the past six years
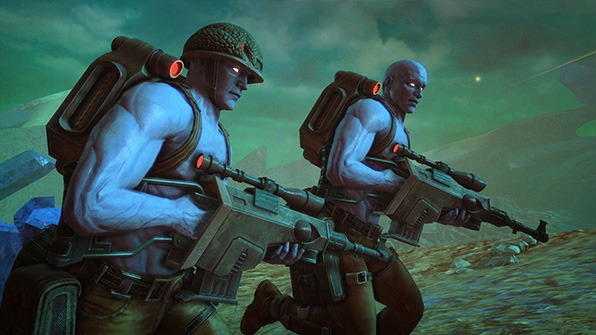
Rogue Trooper Redux
October 2017
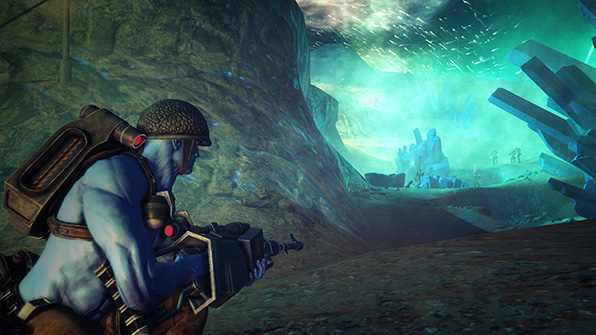
Rogue Trooper Redux
October 2017
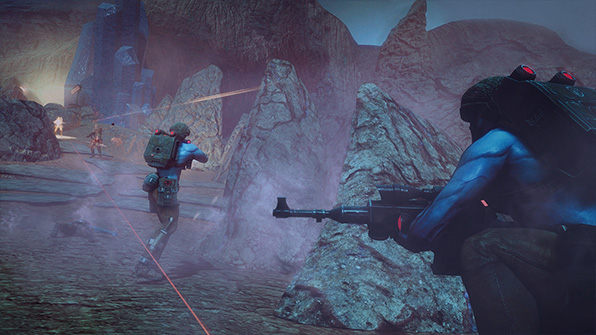
Rogue Trooper Redux
October 2017
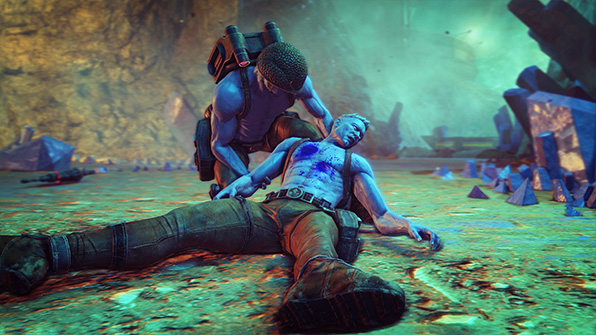
Rogue Trooper Redux
October 2017
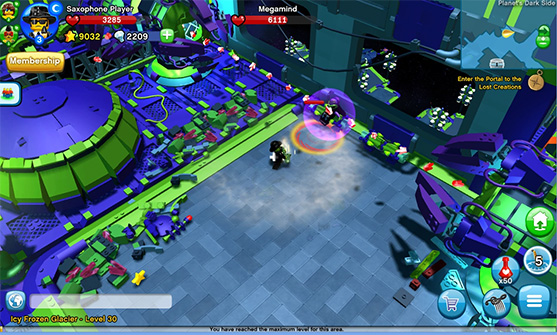
LEGO Minifigures Online
September 2015
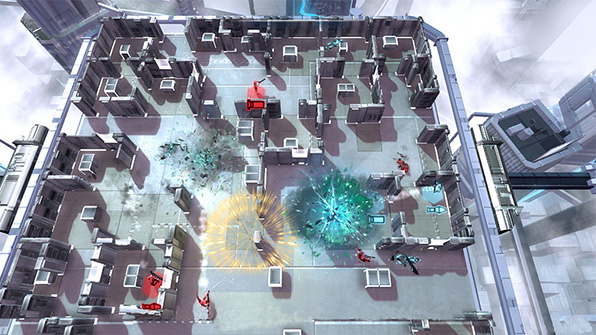
Frozen Synapse Prime
August 2015
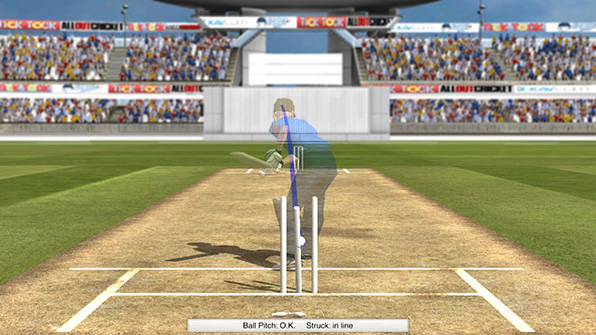
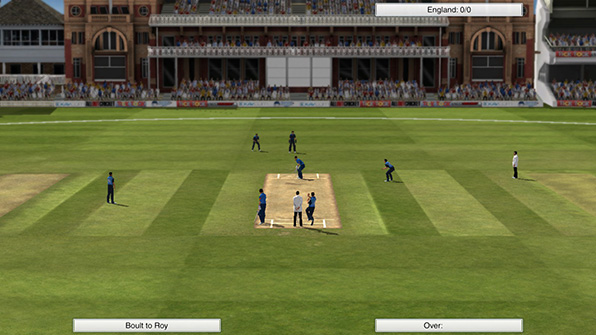
Cricket Captain 2015
August 2015
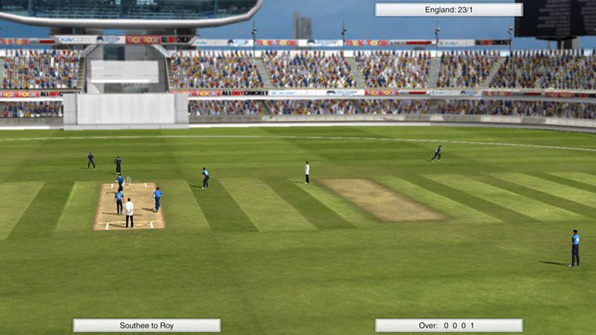
Cricket Captain 2015
June 2015
Cricket Captain 2015
June 2015
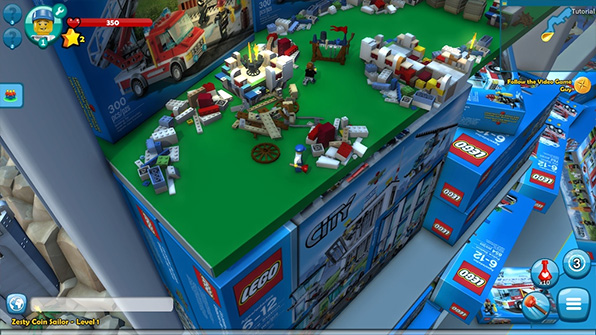
LEGO Minifigures Online
June 2015

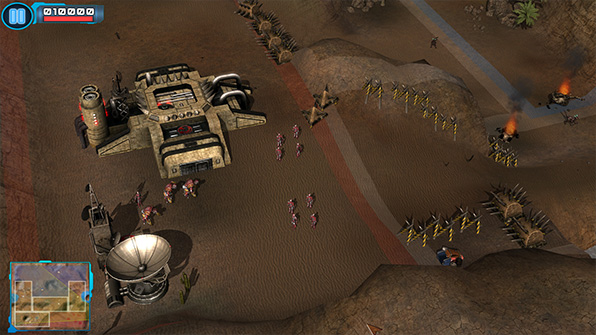
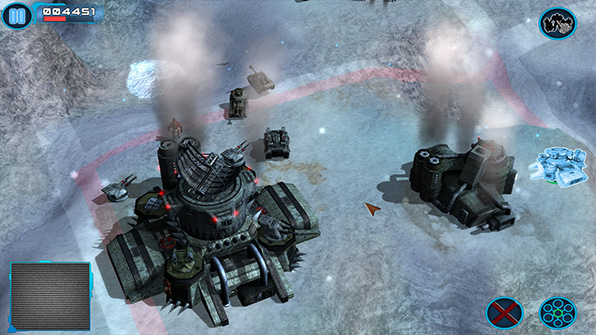
Z Steel Soldiers
April 2015

Frozen Synapse Prime
March 2015
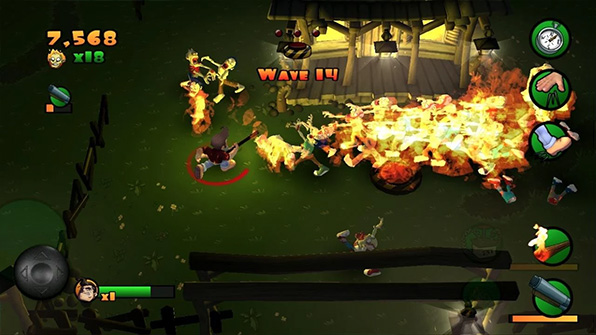
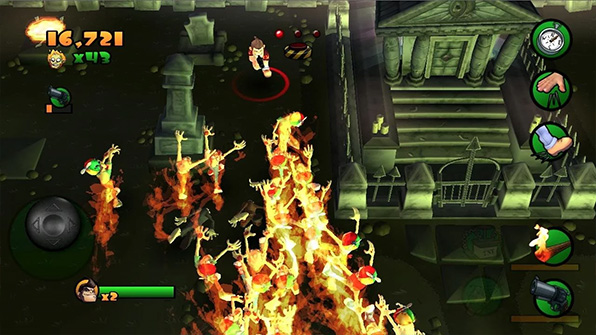
Burn Zombie Burn
December 2014
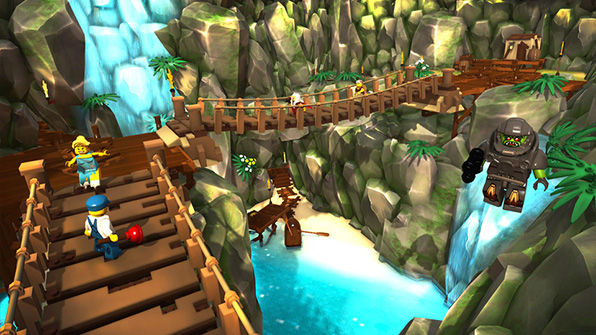
LEGO Minifigures Online
December 2014
Z Steel Soldiers
August 2014
Z Steel Soldiers
August 2014
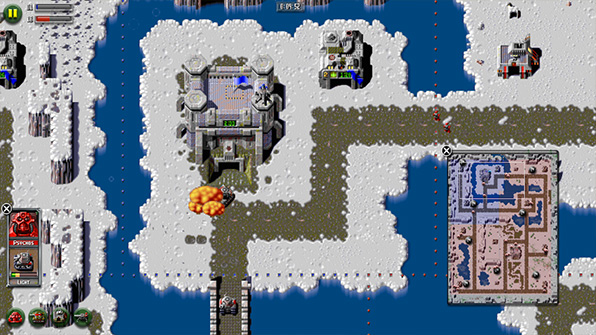
Z
July 2014
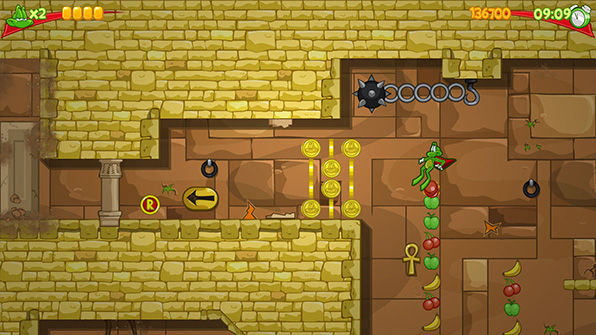
Superfrog HD
June 2014
Burn Zombie Burn
May 2013

Worms 2: Armageddon
April 2013
I'm a professional game developer from Wakefield, England, working as a senior programmer for Rebellion North.
I'm a married father of five and I a also sometimes do Retroburn stuff.
Tags
2013 3d alphalabs amazon apple archivirtual asynchronous battlefield bad company 2 ben 10 bepu beta blackmagic design blog blue marble bootcamp borderlands bsp calibration charity charvel childsplay comments competition content tracker counter-strike crash csgo css3 cycling dear esther deferred deus ex develop conference direct x discipline documentation doom 3 bfg dpi dr bott eidos elite force email deliverability eurogamer expo facebook focus fresnel game development game horizon game republic gamedev games gaming geoip girls make games global offensive grid guitar half-life 2 hawken hd7 hobbyist htc humble indie bundle imac indie indie trials indietrials intensity pro ip-countryside iron man 3 jamulus rift jquery kids kinect launch conference left 4 dead live lost mac mac osx manchester manhacks mass effect 2 matrox maya minecraft mirrors edge montreal morrowind movies museum of the microstar music mxo2 mini mysql nausea network networking nokia normal mapping obj oculus rift omnitrix ouya pedal for pounds php physics playstation suite port25 portal portal 2 positron posters powermta project aedra project euler promotion properties proton pulse ps vita ps4 psn racer reddit rendering retroburn game studios reviews rift racer riftracer roadkill roller coaster sdl2 shadow racers sharks shoct skyrifters snds space cadet spam trap star trek steam stencyl storage super stock sd1 fr superhot team fortress 2 tesselating tesselation texture editor thunderbird thunderclap ticktock games tiga track builder track bulder trials tv twitter uk ultimatrix usergroup vequencer video vireio visual assist visual studio vorpx voucher vr vr cinema war thunder warren web willow windows 8 windows 8.1 windows phone 7 workbench wp7 wp7dev xbla xblig xblig network xbox xbox live indie games xna xnaukug xperia play zombies on the holodeck
Archive
November 2025 (2)
August 2018 (1)
March 2016 (1)
February 2016 (1)
November 2015 (1)
March 2015 (1)
February 2015 (2)
January 2014 (2)
June 2013 (4)
May 2013 (22)
February 2013 (1)
January 2013 (2)
July 2012 (1)
June 2012 (1)
March 2012 (1)
January 2012 (4)
December 2011 (1)
November 2011 (1)
October 2011 (2)
September 2011 (3)
July 2011 (1)
June 2011 (3)
April 2011 (2)
March 2011 (8)
February 2011 (3)
January 2011 (2)
December 2010 (4)
November 2010 (1)
August 2010 (2)
July 2010 (5)
June 2010 (6)
May 2010 (18)
April 2010 (4)
Links
Web
XNA
Aaron Stebner
Allen Pestaluky
Catalin Zima
George Clingerman
Jim Perry
Matt Pettineo
Michael Klucher
Nick Gravelyn
Petri Wilhelmsen
Popescu Alexandru-Cristian
Riemer Grootjans
Roy Triesscheijn
Sgt. Conker
Shawn Hargreaves
Tom Looman
XNA Content Tracker
XNA UK User Group
Allen Pestaluky
Catalin Zima
George Clingerman
Jim Perry
Matt Pettineo
Michael Klucher
Nick Gravelyn
Petri Wilhelmsen
Popescu Alexandru-Cristian
Riemer Grootjans
Roy Triesscheijn
Sgt. Conker
Shawn Hargreaves
Tom Looman
XNA Content Tracker
XNA UK User Group
Games
Email Deliverability
Thursday, March 3rd 2011 / Blog
Intensity Pro Reprise
It was last May that I made a post about my Blackmagic Intensity Pro and I thought it was about time I wrote another!
I recently set up a PC to use as a dedicated media machine. It has my old Western Digital Caviar Black drive in it which is ideal for recording video and a nice clean install of Windows 7.
The last time I used my Intensity Pro I had problems getting HDMI input to work and also couldn't quite capture the video fast enough for what I wanted. While looking into setting up this dedicated box however I found out you don't need to capture uncompressed raw video and can infact capture in MJPEG format. I thought I'd give it a try and here's how I set it all up (the following assumes you're capturing from an Xbox 360 but other devices should use a similar setup):
Download the latest drivers and software.
Visit Blackmagic Design's website and download the driver package for your operating system. The zip file should contain the Intensity Pro driver itself, the latest version of Media Express and a few PDF manuals.
Install the driver, you'll be prompted to accept and install the driver at some point and you might be asked to reboot and update the device's firmware too.
After that, install the Media Express software. You can use other software to capture from the card but this actually seems pretty good.
Connect your device.
As I mentioned, I had trouble with HDMI (I think the signal from an Xbox 360 might be HDCP and the Blackmagic doesn't allow capture from protected sources) so I used an old Component HD cable for my Xbox 360. A problem I came across was that the Xbox 360 defaults to 480p when a new cable is used (I usually use HDMI between the Xbox 360 and TV) and the Intensity Pro won't accept a 480p input. What I'd suggest is that you use your Component cable and plug it directly in to your TV first.
Now turn on your Xbox 360, go into the settings and change your video output to 720p (or higher if you prefer but I like 720p for recordings). Confirm your changes and unplug the Component cables from the back of the TV. Connect them to the breakout cables for your Intensity Pro and connect the output of the Intensity Pro to your TV (I used Component outputs but HDMI should work fine).
Check the signal
Before you load up Media Express to check our input is working you'll want to check the Control Panel. Go to your Control Panel and you should see something marked as Blackmagic Control Panel. Load this up and you can set the output and input options you require. I set output to HDMI & Component since I was using a Component connection between the Intensity Pro and the TV. I set the input to Component Video & Analog RCA Audio because I'm also using a Component connection from the Xbox 360.
Click OK and load up Media Express from your Start menu. Before doing anything Click Edit -> Preferences from the top menu and set the Project Video Format, this should match the format your Xbox 360 is set to output.
The Capture File Format specifies the format in which the Intensity Pro will store the captured video. I've not tried YUV AVI or DPX with my new box yet as I specifically wanted to test out the MJPEG setting, so go ahead and choose AVI Motion JPEG.
Below that you'll see the paths to which it will save your captured video files. I have these set to my D drive since that is the Western Digital Black which is a secondary drive with absolutely nothing else on it. I've dedicated it to recording video.
Click OK on the preferences window and click the CAPTURE tab at the top of the controls section. If you see a preview of your Xbox 360's screen that's great! If not, you might have to go into the preferences again and try a different input format (I had to set mine to 59.94, neither 50 or 60 would show anything on screen).
Now would be a good time to check your TV or monitor to also make sure the signal is being passed through correctly. If not you might need to check the selections you made in the control panel again.
Record your video
If you now have a nice preview window of your Xbox 360 on screen and have it displayed on your output device too you can go ahead and click record in Media Express.
I was very impressed with Media Express' preview window, there was almost no delay in the preview and you could just use that to play your game while recording rather than using the output device (TV/Monitor). I did choose to use my TV however to make sure the whole setup worked.
When you're done recording simply hit the record button again to stop. You can watch the capture back from the Playback tab. You now have a nice video but it'll be rather large, I'd suggest re-encoding it:
Re-encode the video for use in the internet
Now you've recorded your video you'll want to re-encode it into another format so you can upload it to a video service like YouTube. Everyone I know has their own personal favourite tools for doing this but I'll explain how I prefer to re-encode videos and give step by step directions:
Firstly I've been a fan of a video editing program called VirtualDub for a long time, so go download that (I used the x64 version) and extract it somewhere (I usually have it on my desktop).
Personally I prefer to encode my videos with x264 for video and AC3 for audio so you'll need to install a few codes which VirtualDub can use:
x264 VFW - Download from the section titled VFW, install both the x86 (32bit) and x64 codecs. Note that the installer just pops up a little window and disappears, it installs quickly so don't worry that it hasn't worked.
AC3Filter - Download the Full package and install it, this will install the 32bit and 64bit codecs required to compress audio into AC3 format.
Now load up VirtualDub from the directory where you extracted it to. Open your recorded video (File -> Open) and you should see a preview with a progress bar, you can play and skip to points in the video here aswell as crop and add effects which I'm not going to go into.
From the top menu, click Video -> Compression and select x264. You can also click Configure to edit more advanced settings but I find the default settings for the codec provide decent quality for uploads to YouTube.
Click Audio -> Full Processing Mode. Without this setting the audio from the initial recording will be used, which I believe is raw uncompressed PCM. Click Audio -> Compression and select AC3.
Now click File -> Save as AVI, enter the filename you want for your new compressed file and click Save. A window will pop up showing how long it's going to take and some stats on your video. Once it's done check your newly created video and upload it to the internet.
Overall experience
After following all of these procedures myself I ended up with the following video which I think came out great!
I should stress that it's important to use a fast hard drive to record your video to, and if possible to dedicate a second drive to the recording. Having said that though, I'm very impressed by the capture quality using MJPEG and the filesizes at the end of it:
The recording I made was 8 minutes 47 seconds long and the resulting MJPEG file was only 8.15GB in size. If I had been recording uncompressed audio it's likely the file would've been 10 times the size (which means the disk would've been writing 10 times as much data per second, which it might not've been able to do. This works out as just 15.8MB per second of video. Even a standard SATA drive should be able to keep up with that! I could probably record 1080p with MJPEG on my Western Digital Black drive which can write at over 100MB per second.
After compression the resulting file was 521MB, which is a bit large but I also think that kept the 59 frames per second which could be dropped to 30 or 29 to reduce the file size down even further.
Hopefully now I should be able to get some more videos of my Xbox 360 games recorded aswell as footage of games I want to review!
0